It is normal that some wallet addresses wont give out MEMO's. In these cases, leave the MEMO field on the Wallet setup, blank.
It is important to setup wallets and payouts to determine where earned rewards will end up. This article will assist on how both are done. At the same time, it is critical to understand that any wallet or token assignments set up after Wednesdays 00:00 UTC will not get picked up by the payouts processing system. Therefore, expected payouts will be reflected on the next distribution period.
Setup Wallet
Login to your Liquidity Mining account.
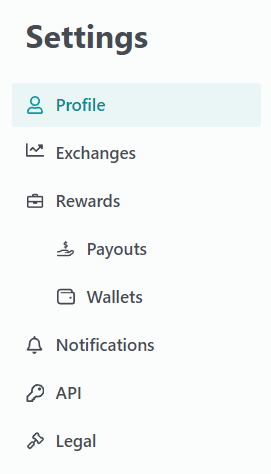
Navigate to the Settings tab.
On the Settings tab, you will see the Rewards tab.
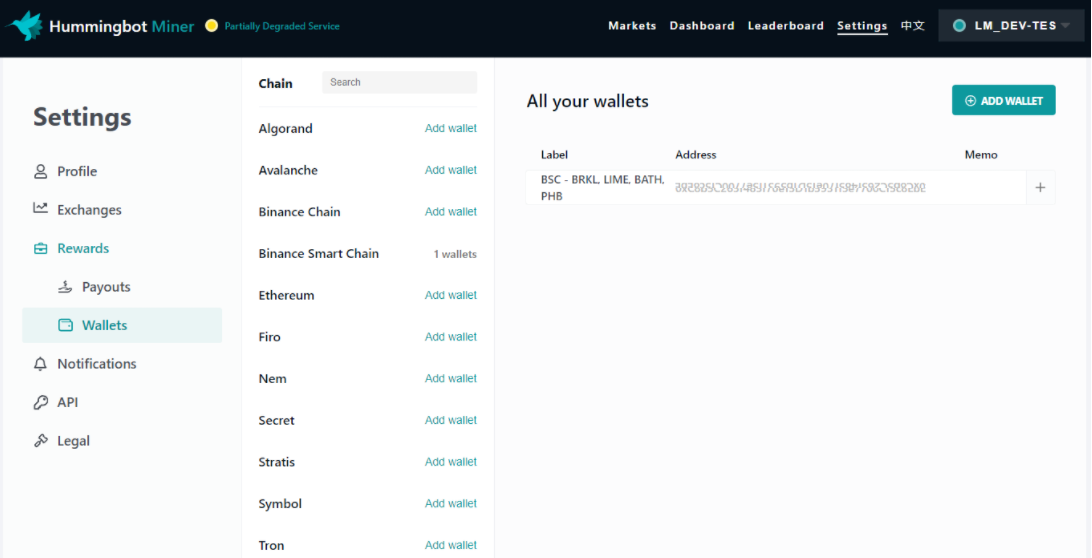
Click on the Wallets and Add Wallet.
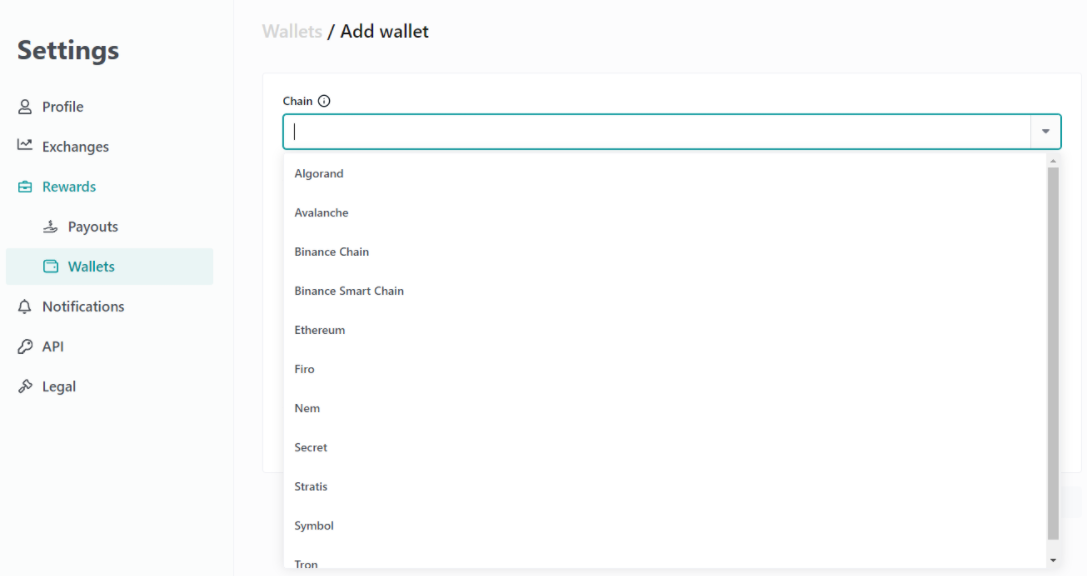
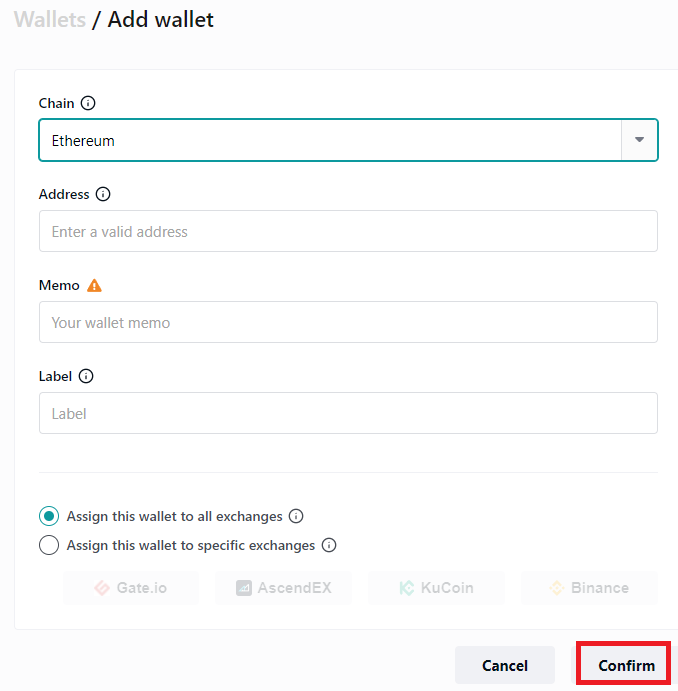
You will be asked what chain you would like to connect to.
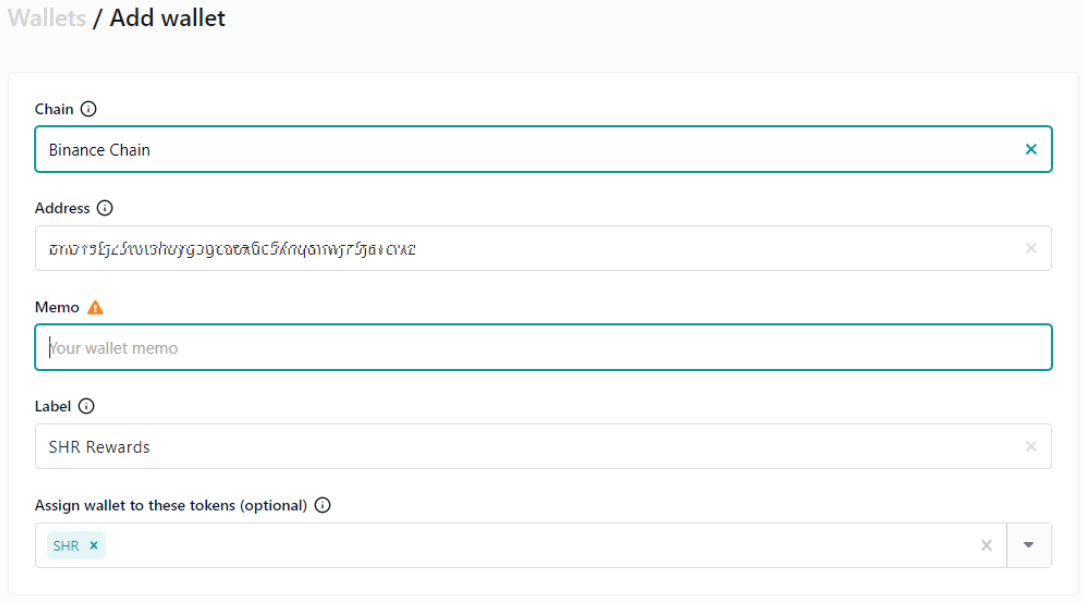
After choosing the preferred chain you can now fill up the required fields.
Info
Please take note of the following tooltip or reminders for each field below:
Chain Payout assets may be supported on multiple chains. Ensure that the selected chain matches the entered wallet address to avoid potential losses.
Address Provide a valid wallet address.
Memo Please confirm if the receiving address requires a MEMO/Tag. If it is not filled or filled incorrectly, the assets will be lost. If the address does not have a MEMO/Tag, leave it blank.
Label Please specify a name that will help you easily identify this wallet. Note that you can only use Alphanumerical characters for your label/name
Assign wallet to these tokens (optional) Payouts of rewards in any of the assigned tokens will be made out to this wallet.
Once adding a wallet is confirmed it will now reflect on your Wallets dashboard.
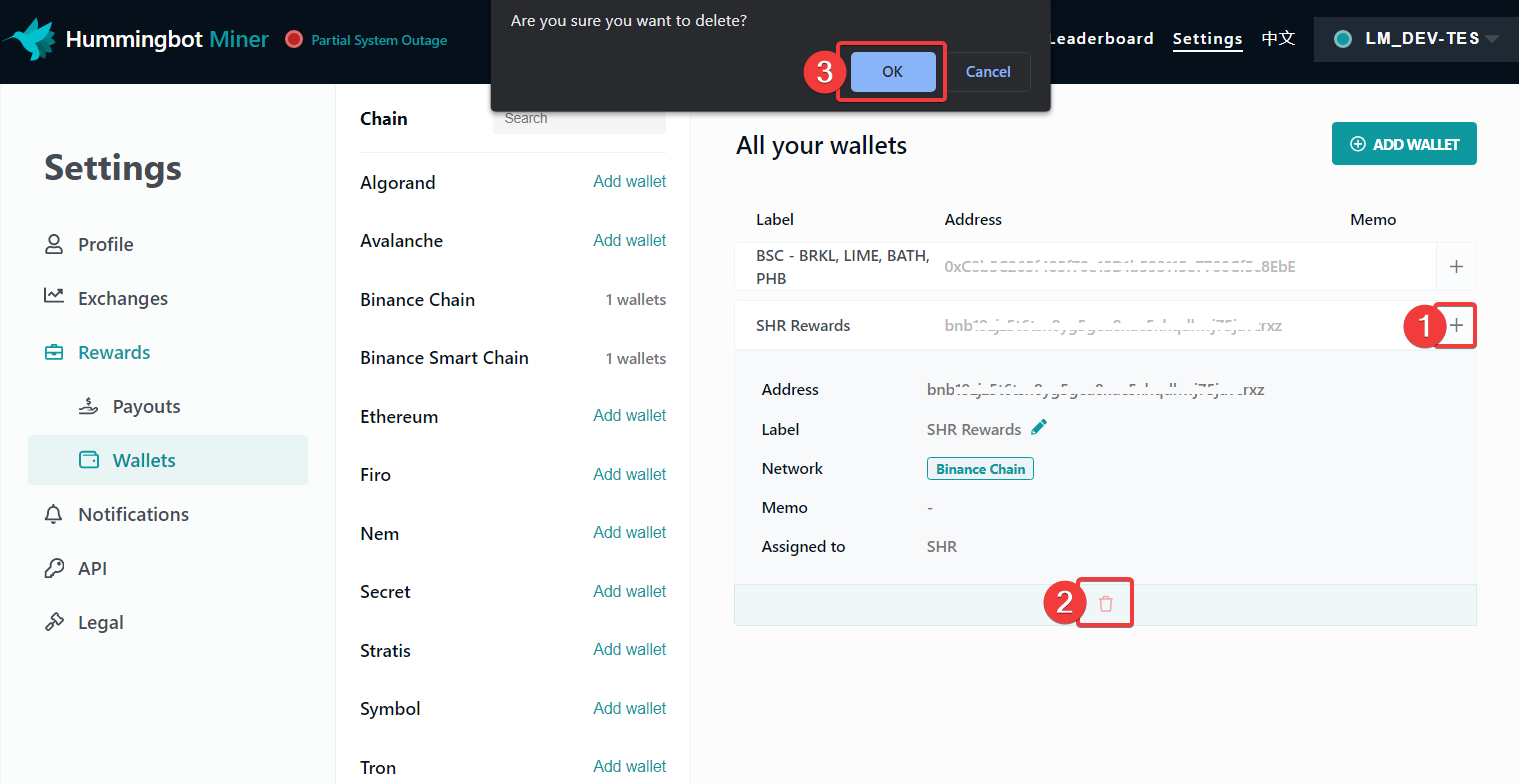
Remove or configure your wallet address
Here's a step-by-step instruction on how you can remove or delete your wallet.
Click the icon to expand the wallet window.
Click the icon.
Confirm the deletion by clicking OK.
Reminder
It is critical that Payout settings are configured to identify where rewards will be sent out. Instructions are seen below.
Setup and modify Payouts' wallet assignments
It is possible to assign wallets to each reward token specifically instead of doing it on a per-chain basis. It is also possible to assign different wallets to the same token, based on what exchange they are earned on. Let us review how to use these features:
Login to your Liquidity Mining account.
Navigate to the Settings tab.
On the Settings tab, you will see the Rewards tab.
Click on Payouts.
Select the token you would like to setup/modify and it will bring wallet assignment information on the right-hand side of the screen.
Multiple mode off All accrued rewards will be paid out to a single wallet, regardless of the exchange they were generated on.
Multiple mode on All accrued rewards can be paid out to different wallets based on the exchange they were generated on.
Warning
Please be advised that minimum payouts amount are calculated on a per wallet basis. So if the amount to be paid out to each particular wallet is under the threshold for any given token, the rewards will not be sent until the minimum is reached, even if the total amount of accrued rewards is above it.
The system will also detect if no wallet is linked to the corresponding Token rewards. You will see the option to Add new wallet.
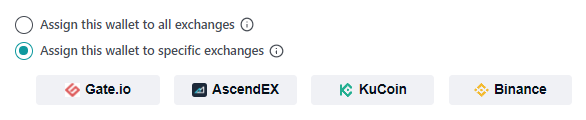
You will also have the option to select whether to assign a wallet to receive rewards on certain or all exchanges.
Assign this wallet to all exchanges All rewards paid out in this token will be deposited to this wallet, regardless of the exchange they were generated on.
Assign this wallet to specific exchanges Assign this wallet to campaigns on the selected exchange(s)
Once done, click Confirm.
JavaScript errors detected
Please note, these errors can depend on your browser setup.
If this problem persists, please contact our support.